
I am positive your classroom is full of little engineers- just like mine. Actually, I think kids are natural engineers! They tinker and build and take things apart and put them back together. They make instant adjustments and improvise fearlessly as they invent! A few years ago when I started my new school adventure with a STEM lab I trained with some engineering kits and discovered the language of the Engineering Design Process! The question was: Did I need to go through these steps with my students?
Would they need to know this? How would I make sure we were following the EDP?

So, I set to work, making decisions as we all (me and the students) learned about the EDP together!
I started with a rough draft of the steps to the process- which I often explain as being very similar to the Scientific Method. Here are the basic steps:
- Ask
- Imagine
- Plan
- Create
- Improve
Seems simple enough, right?
I created some posters and these are hanging in my classroom and we refer to them almost every day. More importantly, though, is this: How have we evolved as learners using this process? What have I, as the teacher, noticed? How can I help you on your STEM journey?
So, let’s take the steps apart! Let’s see how kids tackle these!
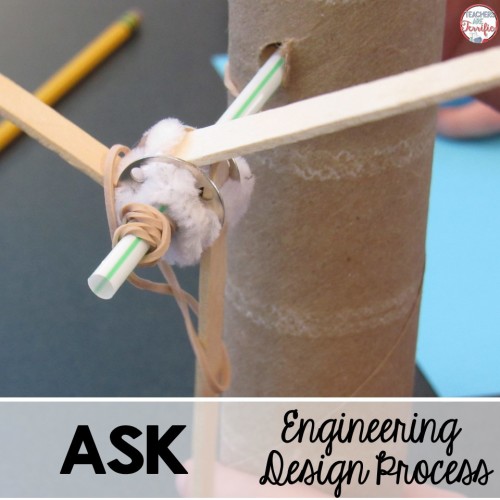
We always start every challenge with asking a question. This sets a purpose for the task and gets us started with thinking about ways to solve the dilemma. Early on I asked questions like this: Can we build a boat that floats? Of course we can! This is a really silly way to word a question, as you know. Never make it a question that can be answered in one word! Now, I am more likely to ask: How can we use the materials and build a boat that will float for at least 2 minutes and hold up to 50 grams of weight?
Making the question more complicated makes the students begin to think differently right from the beginning! The next part of the Ask step is to determine the rules of the task or the constraints! My students have learned to ask many things! They always want to know if structures must be free-standing, what the time limit will be, and if materials are replenished. These are decisions for you to make as part of setting up your task rules.
Okay, your kids are thinking, they know the task constraints. What’s next?
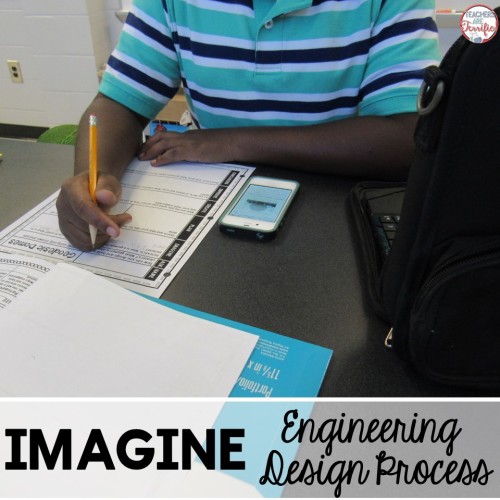
It’s time to imagine some solutions to the question or problem! Sometimes for us this involves research. Students use personal devices to read more about a topic or check out images. We tried this a few months ago as we were getting to build geodesic domes. We have also read about suspension bridges, cargo drops, and Newton’s Laws of Motion. I regularly use video clips to help us envision a design and structure! Research and videos are not always necessary. Many times I bring in a picture book and that gets us started. You can also just have a great class discussion. That’s how we start our roller coaster events every year! We just talk about our experiences with them!
Now, your students should be getting really excited! They have read, researched, talked about, or viewed the topic! Let’s get busy planning!
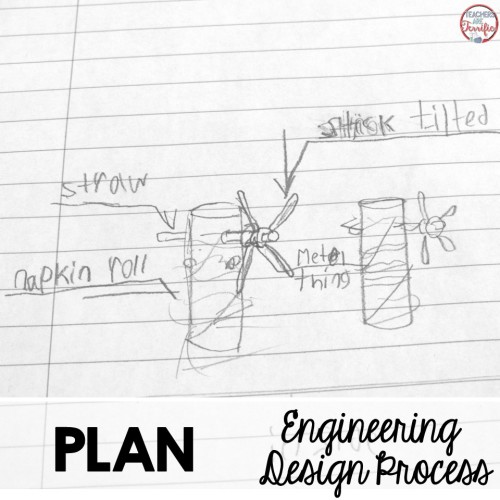
We follow a very scripted planning procedure in my classroom. The kids know the task rules and they know the materials that will be used. Now, every single student sketches an idea or writes about one. When every team member has a sketch or written plan then the team must have a conversation. Each team member shows the drawing or plan to the others and talks about his or her idea. Everyone talks! Next, the team decides what to do! This procedure ensures that every student has a voice in the design. A student may not have his or her idea used, but they have at least had a chance to be part of this. This procedure helps your little shy and quiet kids! (And it also takes care of complaints later!)
Ready to build!
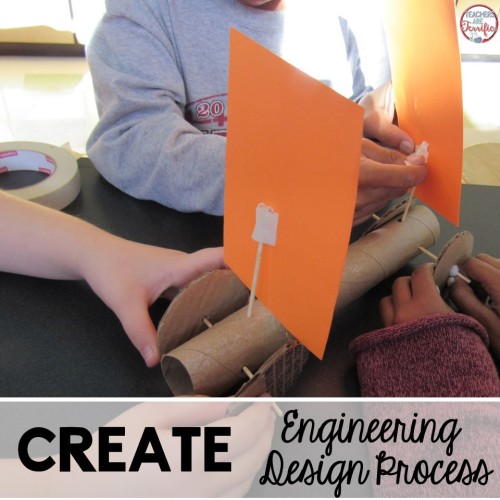
Students will dive right into this! I have found that I can assign jobs within the groups, but I have also discovered that I don’t have to. The kids do this naturally. They volunteer for some things and sometimes the natural leader that emerges will ask kids to do certain things. My absolute favorite thing is when a challenge has a construction part and a decorating part. The kids that have the artistic talent will excitedly jump into the decorating tasks while the little engineers will get busy building the structure.
So, what happens if those plans go awry? I once had a student say this, “This is not working at all. It looked so different when this plan was in my head!” This is the MOST FUN part of STEM challenges (for me)! It’s the Improve stage!

Some STEM activities have a final step in which kids take a look at their structure or device and determine what is not working and they go through the process of improving as a separate step. What I find happening more often is that improving happens constantly. Kids fix things as soon as they don’t work. They talk it out, re-think what is going wrong, try again, and try again, and try again! It is fascinating to watch. The photo above shows you what a group did with a bridge support that kept collapsing. They added a rubber band, stretched it tightly, taped it in place, and it held the bridge pieces in the right position. Very clever thinking!
For my classroom we added one more step and I think it might be the most important one!
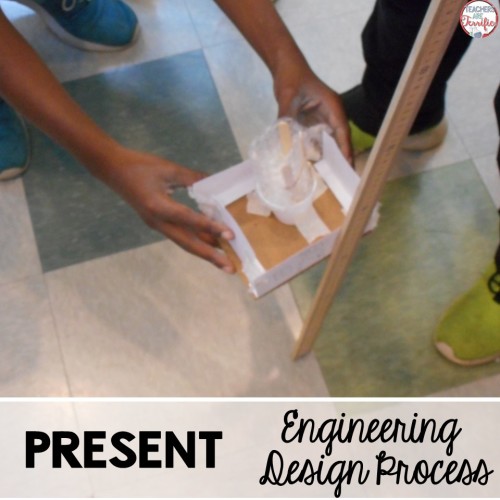
When we finish a task we always have presentations. I give my students a few minutes to prepare this and then we all gather around the first table or group. The group tells us about their building time and their structure. Everyone on the team gets to talk (unless they don’t want to) and then the team demonstrates their device. We watch, we applaud, we cheer when something works, and we groan when it doesn’t. Does every team share- even the ones that do not have a structure? Absolutely. Every team deserves a moment to tell us what happened. We listen to them, we take a look at what the team has built even if it doesn’t work, and make suggestions for what they might have done. We still applaud them and support them.
STEM is fantastic for kids in so many ways. I have watched groups just blossom into fabulous engineers and learn so much! Do we stop and label all these steps as we are going through them in class! No! These steps happen naturally for the most part for us. I don’t announce, “Okay, now you are in the Create step!” Sometimes at the end of class I will ask students to describe a way they improved their design. Or I might ask them to write about one way they used the design process during that day. Reflecting at the end of class is a fun way to bring it all to a close.
If you are interested in the Engineering Design Process and want the steps to display for your students here’s a poster set you can grab from my Teachers Pay Teachers store- for free! Just click on the photo!
You can also visit my personal blog for more ideas and hints and photos and the funny mistakes I make on this fabulous STEM journey! Teachers are Terrific!
Be sure to check all of the other posts for National Engineers Week!


4 Comments
Leave your reply.