STEM Robotics Coding for Kids of All Ages
I know that many of you have robots…but do you know what to do with them? After you make one masking tape maze on the floor and it’s been solved by your students, then what? If you are new to coding robots, here are a few basic steps to get started. Use this information for an easy Hour of Code, in your STEM class, or for a Maker Family Night at school!
Create a Robot Track
Read through to the end for super easy track creation! In the meantime, there are plenty of ways to create a maze or robot track using items you already have.
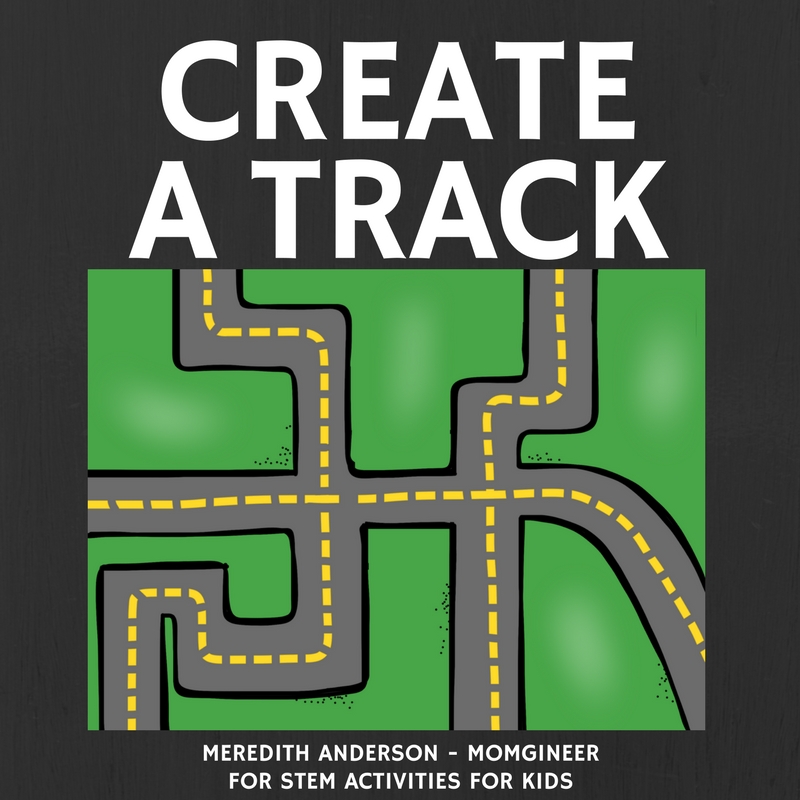
Use wooden planks, books, pencils, straws, pool noodles, etc. to create a path for your robot. You can make it as simple or as complicated as you want.
Add Obstacles to the Robot Track
If you really want to make it exciting, add obstacles:

Maybe you can add a ramp, a tunnel, a bridge, or if you are using a Sphero SPRK+, you can even add a pool to your maze/track!
Code the Robot and Test the Code
Now for the coding part. Students should think about the path their robot must take to successfully complete the track. When they think they have it, they should proceed to code the robot. Depending on which robot(s) you have access to, this will look slightly different. Whether you program on-robot, use an iPad, phone, computer, or program with block code, javascript, or even BASIC, this is the part that will be unique to your robot and device.
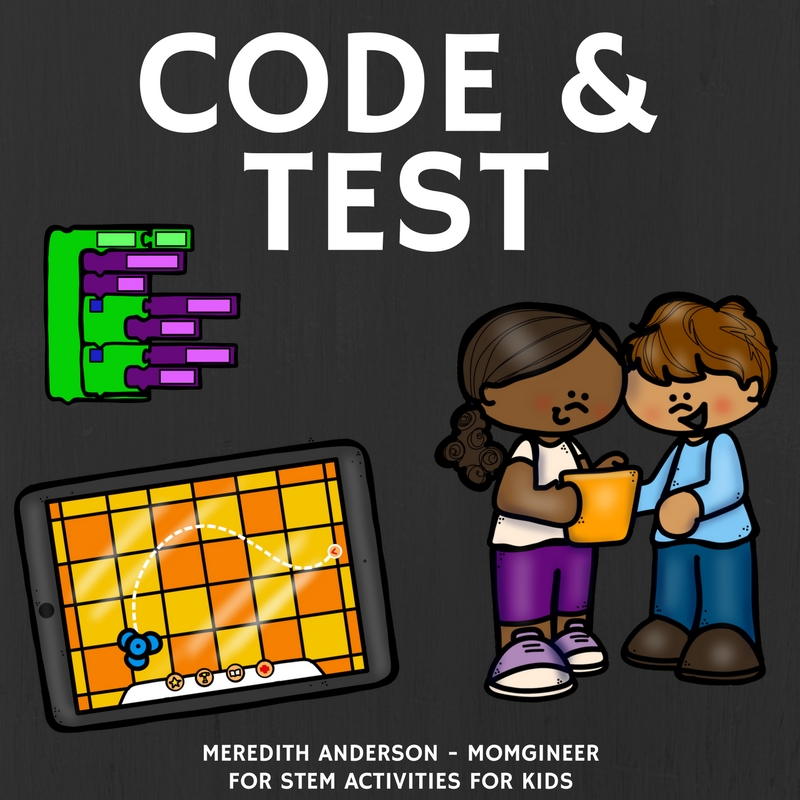
Will it work perfectly the first time? Probably not! This is the most fun part in my opinion, though! It helps stretch the brain and push students to persevere and succeed. When they are finally successful, it’s time to document, reflect, and do any follow up activities that make sense. For younger students, this might mean measuring the length of the track, timing the robot to see how long it takes to complete the task, or writing down the basic steps they used. For older students, they may want to try and improve their code to make the robot complete the task as fast as possible or add on “bells and whistles” such as noises, color changes, or fancy spins. It could also mean designing a chariot to pull along behind the robot!
Easy Tracks and Mazes You Can Print!
What if I told you there is a way to have an endless supply of reconfigurable tracks and mazes at your disposal?
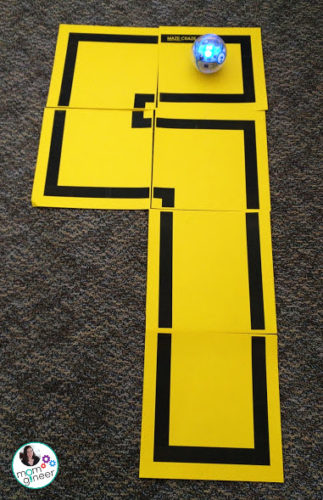
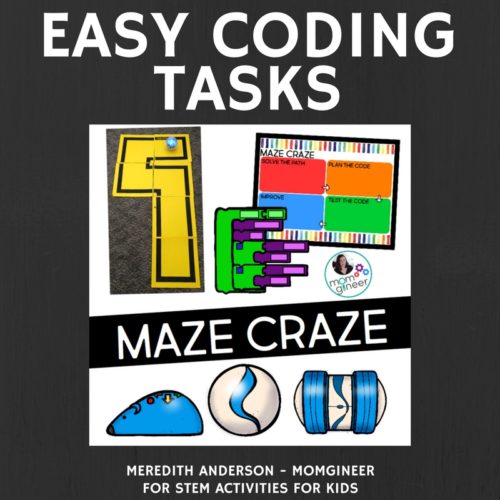
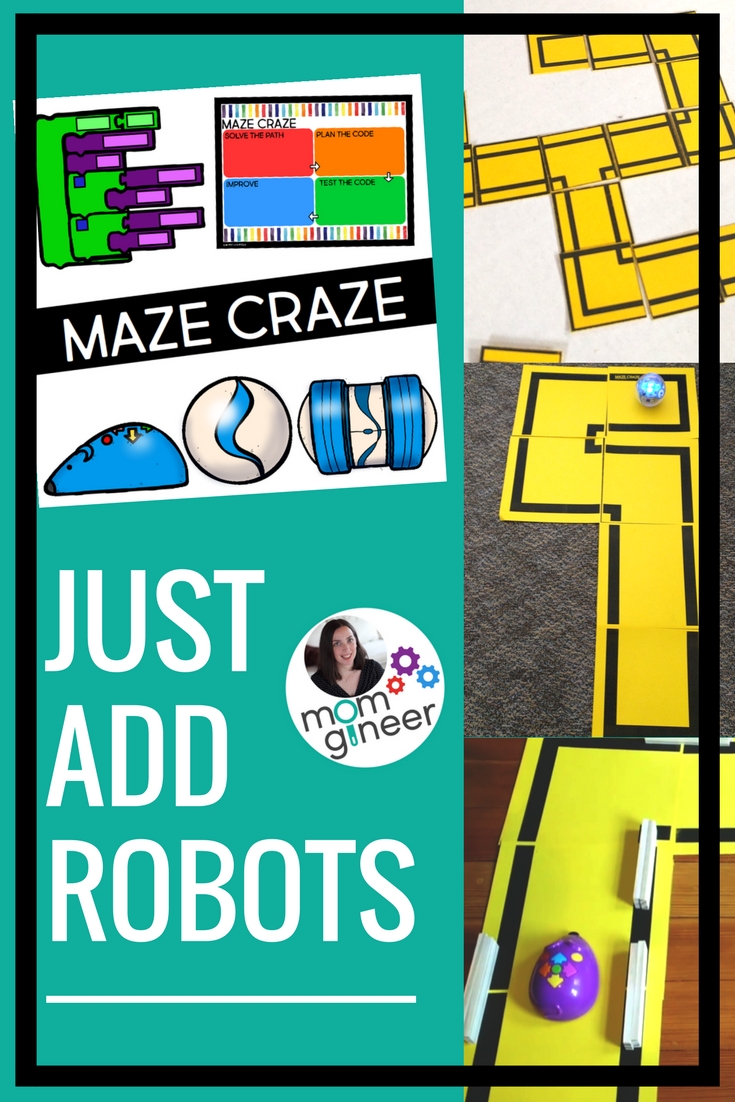
Enter Maze Craze! There’s no way to express how excited I am about this resource. It is SO simple to use and so far my kids are having a BLAST creating their own mazes. How does it work? Just print and go! Use the provided maze tasks or create your own. I have included various ways to differentiate for your students based on their coding abilities and what robots you use. Shown below is one of the mazes with Sphero SPRK+:
Watch the video preview:
Find these maze tracks in my Teachers pay Teachers shop:
Not sure about Maze Craze yet? Here are a few reasons why I think you’ll want to try it:
- Students work through the coding process in a meaningful way.
- Mazes are self-paced and can be completed independently.
- There are digital versions included! That means you can use the digital design studio to create even more mazes.
- The cards are easy to print and transport.
- These are appropriate for kids of all ages and work with a variety of robots.
Thank you to Sarah at Edu-Clips for the her amazing graphics used in this post.



Leave a Reply
Your email is safe with us.