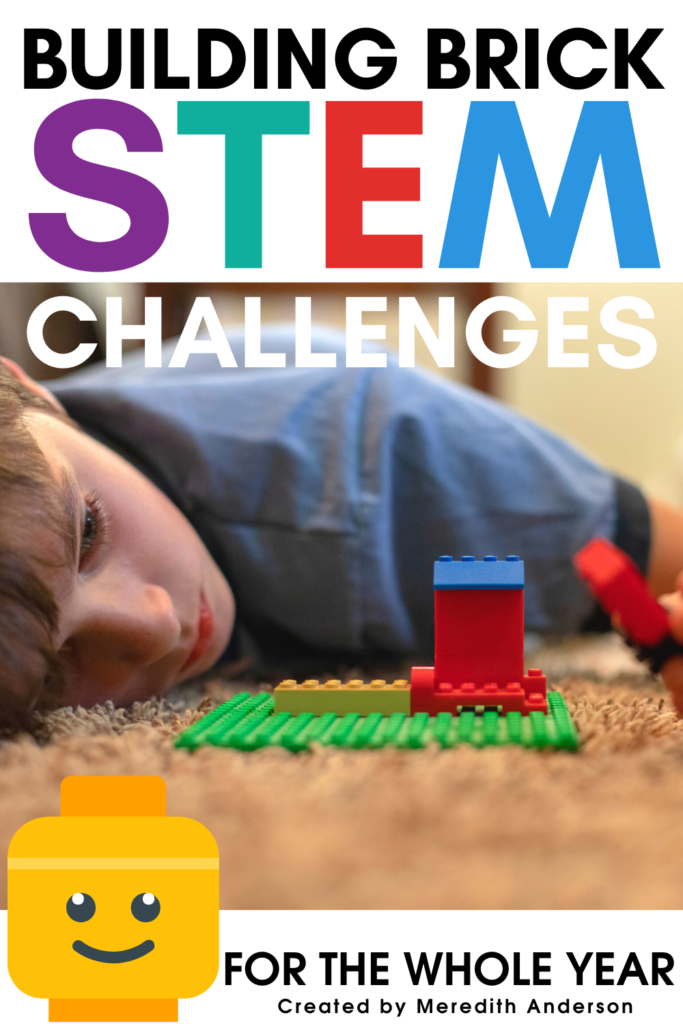
When it comes to building projects, is there really anything that comes close to building bricks like Legos? I don’t think you are EVER too old to play with these versatile blocks. In fact, I have gotten quite a few sets of my own in the past few years. While sets from Lego come with building instructions, you can use these bricks in a slightly different way for STEM learning. Two ways to use legos in you rmakespace: with more open-ended tasks, or with more defined tasks.
Open-Ended Creating with Building Bricks
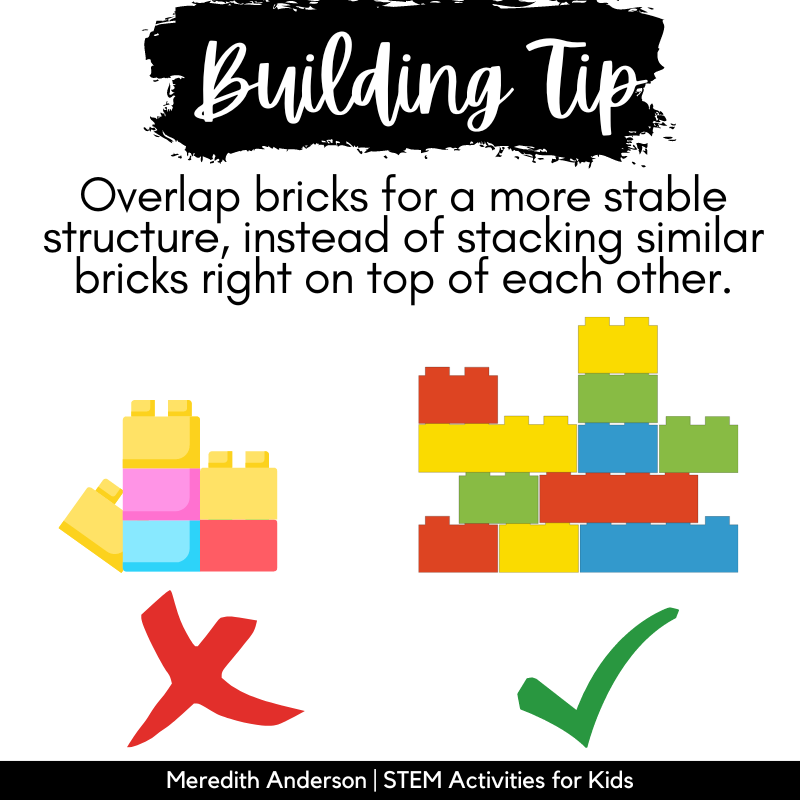
Providing either just the bricks or general ideas of what students can build, without any other guidance, can be a great way for students to get comfortable with the building materials, explore the different types of bricks and how they fit together, and get a hands-on feel for how some structures are more robust than others (by alternating where brick seams are, for instance). Open-ended projects build confidence with the materials so that students are ready to challenge themselves later on! Some of your students will have a lot of experience building with legos, but others may not have ever tried it. For more tips on building creatively with legos, try this kid-friendly video: Top 15 Easy LEGO Building Tips, Tricks & Techniques.
Open-ended projects can be a great addition to your makerspace. I recommend using simple materials that are either reusable (like LEGO building bricks, KEVA planks, or magnetic blocks like Magformers) or recyclable materials (paper from the recycle bin, cardboard boxes, index cards). Find ideas for open-ended makerspace activities and challenges here.
Well-Defined Building Challenges
Once your kids are ready to tackle something more challenging, you can try out more well-defined building tasks. You can create your own based on topics you’re currently studying, or give STEM Mats a try (you can download a sample below).
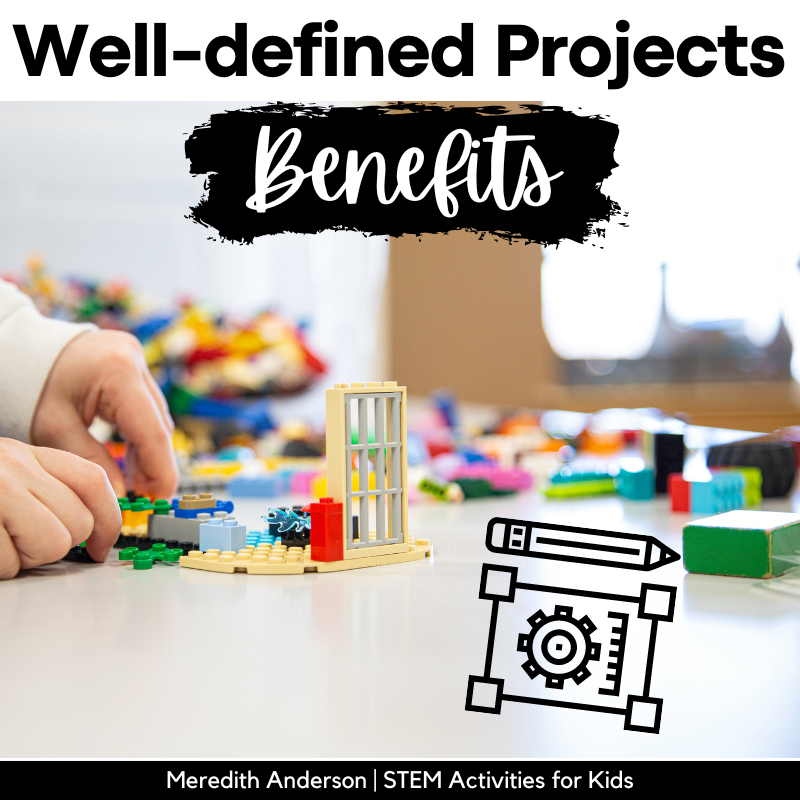
How will you do this? By adding constraints and criteria!
Adding Constraints and Criteria
When building off instructions, kids learn skills like how to read a diagram, how to find the right pieces, and how to connect all the different types of blocks in the right way. They also get to build some really cool models! Here’s the thing though, they are also making someone ELSE’S creation. Building with random blocks on their own, kids get to explore their creative side.
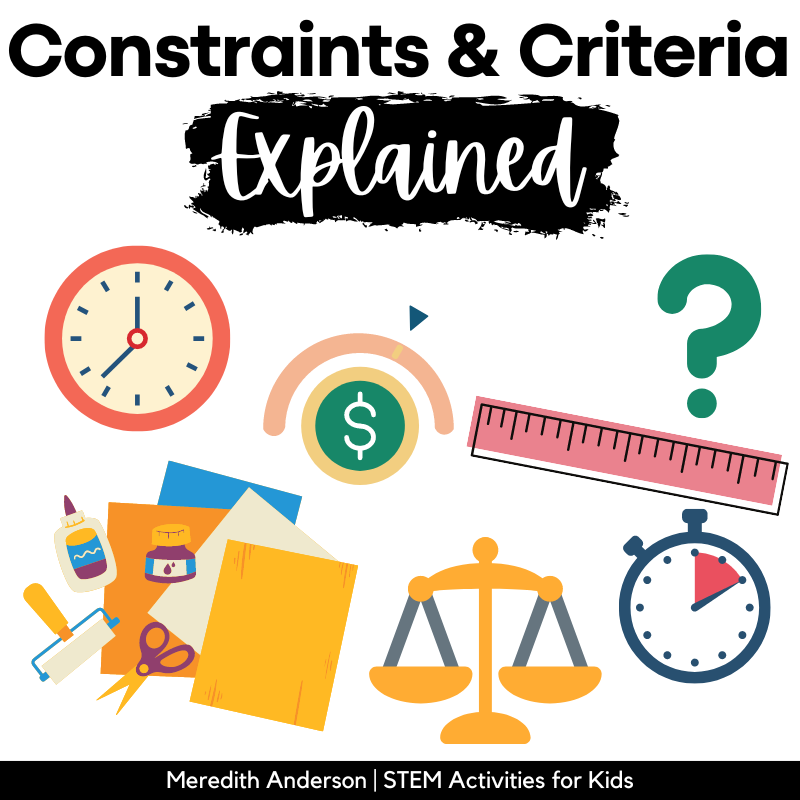
What are constraints and criteria? In the most simple terms, the constraints are the limits on the design, and the criteria are the requirements. You already set constraints: time, money, and materials are examples of constraints. 30 minutes to plan and build is a great time constraint for your makerspace! Criteria can be a little harder to come up with. You might require that students only use 2 x 4 bricks, or only red bricks, or there might be size requirements.
When you add in constraints and criteria to your makerspace activities and challenges, you are adding in STEM skills to the mix! That means elements like the 4 Cs: critical thinking, creativity, collaboration, and communication. I recommend that students work in pairs for these challenges, but if you are using them with K-1 kids, you may want to have them work alone until they are ready for partner work.
STEM Mats for Building Bricks
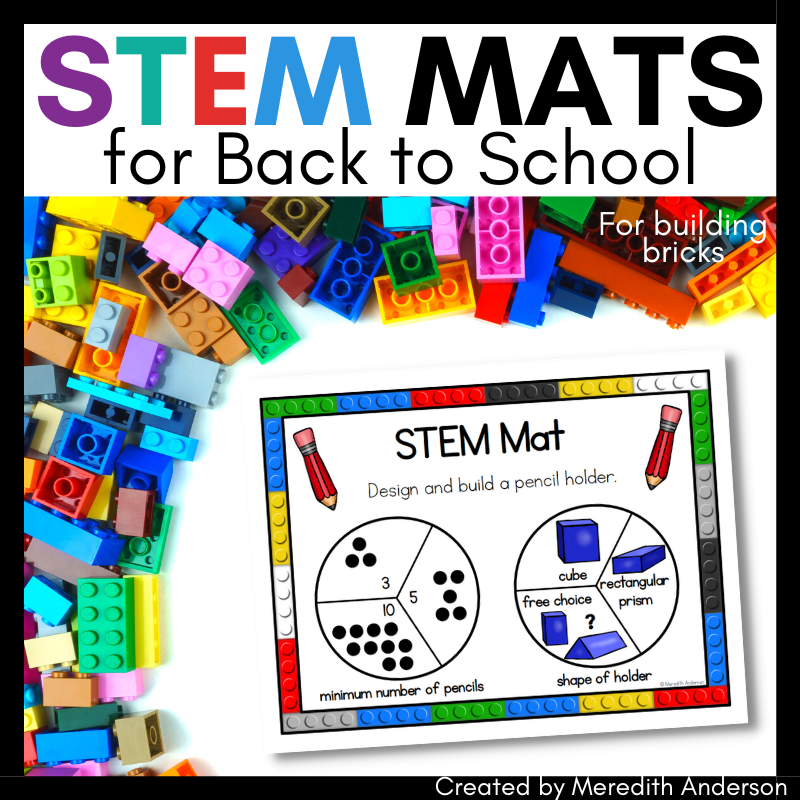
I’ve already done the hard work for you and designed these makerspace activities and engineering tasks for students. The best part is that they can be reused! Because students spin their criteria, if they come back and spin again, they will get different criteria and can create a completely different model! Here’s a sample of a STEM Mat from the original set of STEM Mats:

Students spin to define their design. How would the design be different if each step needed to fit a penny and have five steps? See STEM Mats in action:
Download Sample STEM Mats Below
These STEM Mats are labeled “Back to School” but they can be used at any time!
Save these ideas for later:



Leave a Reply
Your email is safe with us.